Free Crochet Bucket Hat Pattern
Crochet bucket hat pattern
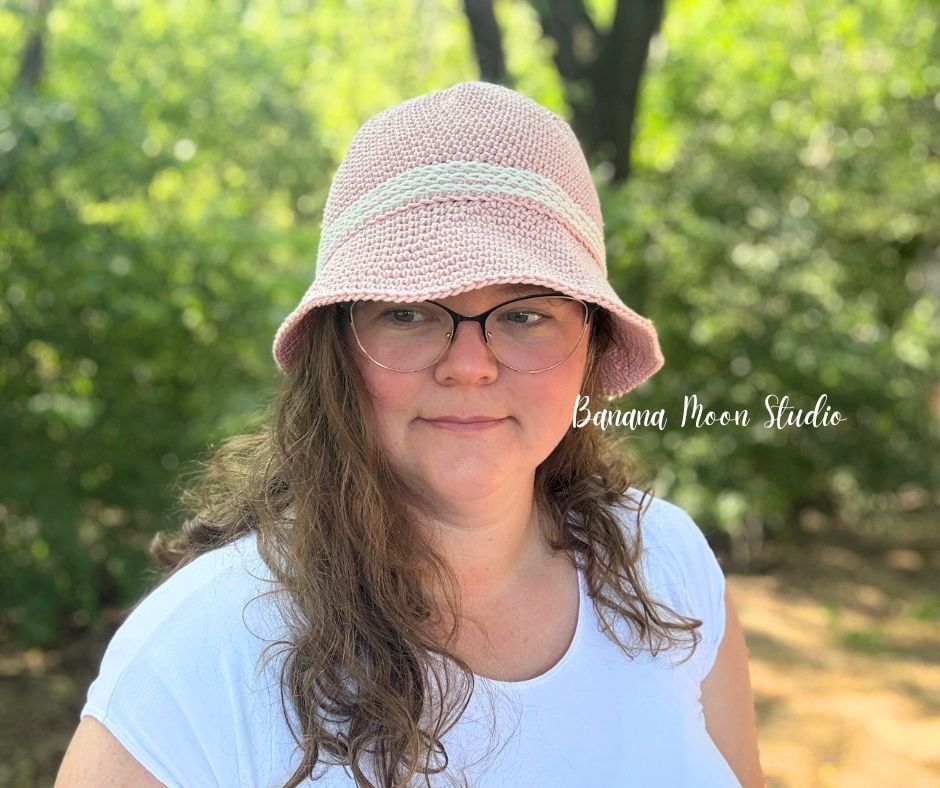
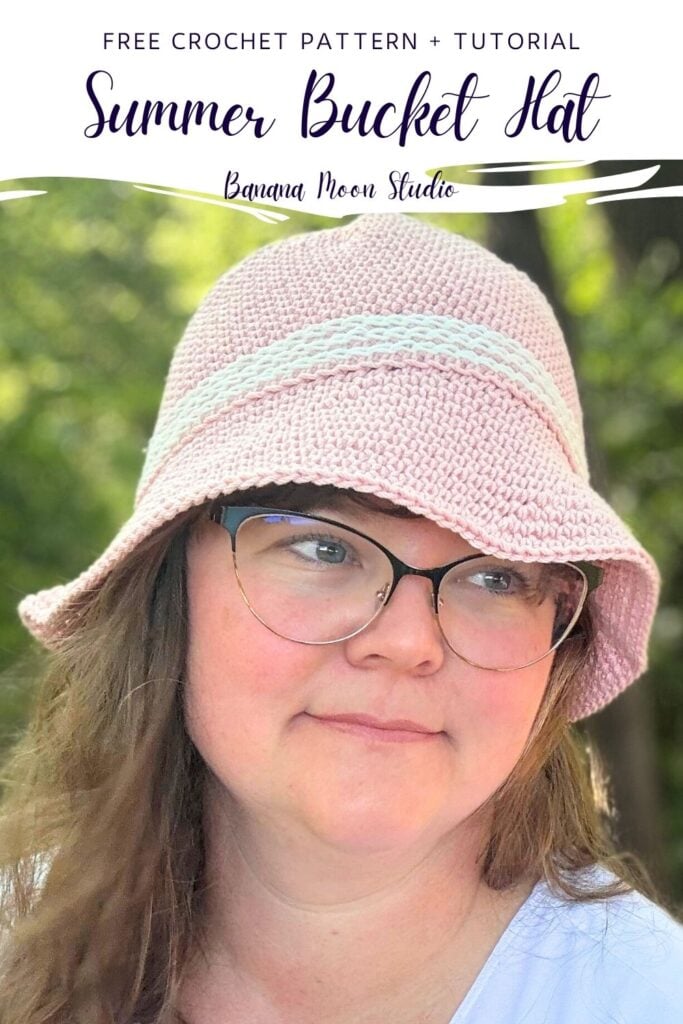
Perfect for summer, this crochet bucket hat pattern includes six sizes from baby through adult L, so you can make one for everyone in the family! The pattern includes written instructions in US standard terms and a complete video tutorial.
This post may contain affiliate links. If you click one and make a purchase, I will earn a small commission at no additional cost to you. See my disclosure for details.
Table of Contents

Crochet hats for summer
Normally when we think of crochet hats we picture cozy beanies that are perfect for chilly weather and winter days. But crochet can do more than cozy winter wear!
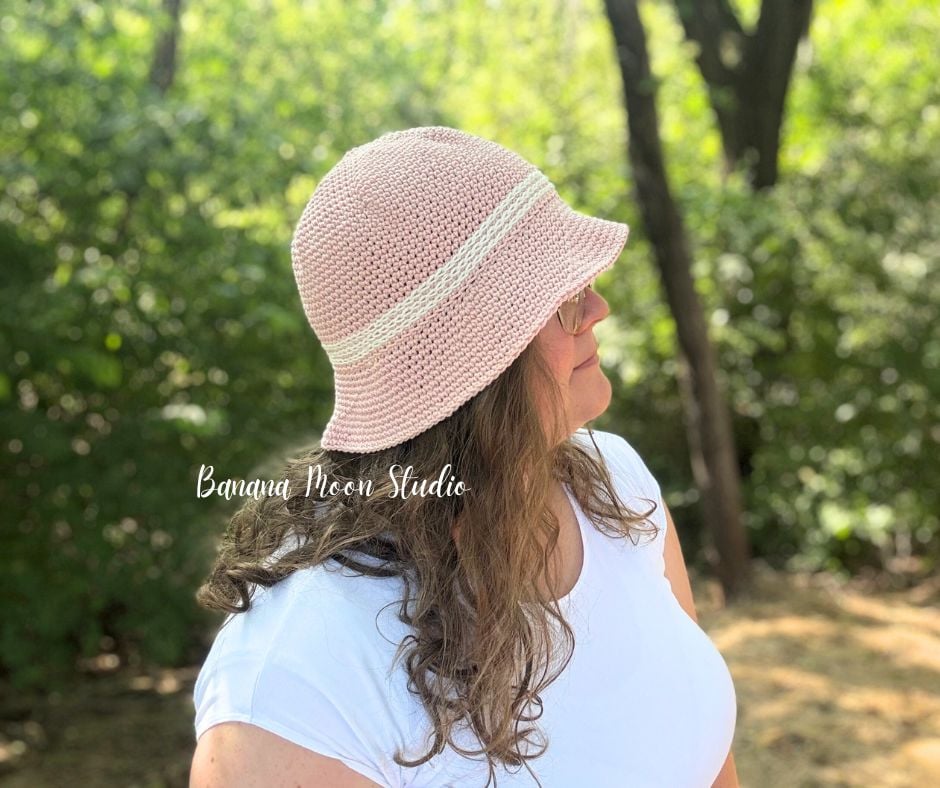
By crocheting with cotton yarn and flaring out the bottom edge of the hat, you can create a hat that offers breathable fibers and shade from the summer sun.
So I’ve started with a worsted weight mercerized cotton yarn from We Crochet, added my own simple, understated style, and provided this classic bucket hat crochet pattern for free!
Where can I get this bucket hat crochet pattern?
This crochet pattern is free right here in this post! Just scroll down for the free version.
You will need to sign up for my free newsletter with an email address in order to access the full, free pattern. If you decide to use the free version, please bookmark this page and come back to it when you work on your project rather than trying to print or screenshot the page. Your time on this page helps me get paid for my work, so thank you!
You also have the option to purchase an inexpensive PDF if you prefer an ad-free option that is easy to download and print.
This summer bucket hat pattern includes a free tutorial!
In addition to the written pattern below, I’ve made a complete video tutorial to help you with this hat! Click the image or caption below to go to my YouTube channel where you can watch the tutorial, and subscribe to my channel.

Summit Sun Hat, a crochet bucket hat pattern
By April Garwood of Banana Moon Studio
(C)2025 April Garwood. As with all my patterns, please do not make paper or digital copies for others. Instead, please direct them to my website to get their own. Thank you!
Difficulty Level: Easy
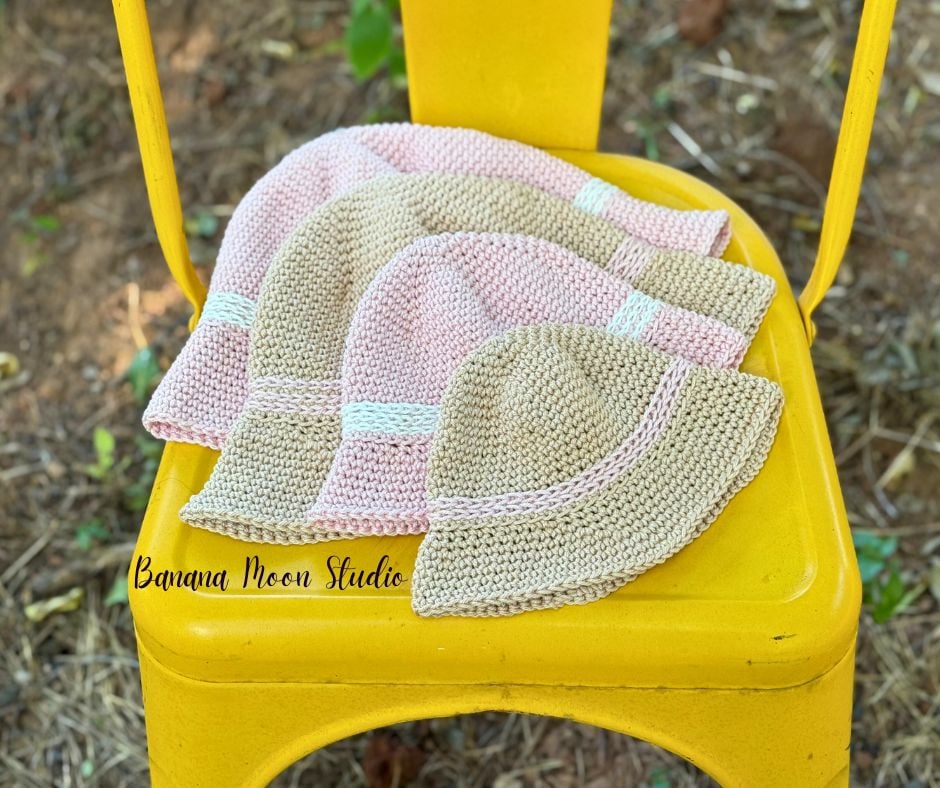
Available Sizes: Baby [Toddler, Child, Tween, Adult S, Adult L]
Finished Measurements: Head circumference 14 ½ [16 ¼, 17 ¾, 21, 22 ¾, 24 ¼] inches
Yarn: We Crochet Vividie (100% Mercerized Cotton; 190 yds; 100 g; yarn weight category: 4/Worsted/Medium): #3135 Linen or #3140 Blush for hat and color of choice for embellishment.
Yardage: You will need 95 [120, 155, 210, 225, 260] yds of yarn for the hat and 5 [5, 6, 6, 7, 7] yds for the embellishment.
Crochet Hook: H (5 mm), or size needed to match gauge.
I use and recommend Furl’s Streamline Metal crochet hooks!
Notions:
straight pins
spray bottle for blocking
Gauge: 15 sts x 19 rnds = 4 inches in single crochet rounds
Notes
This pattern uses standard US terms. For help with abbreviations, get my free, printable crochet abbreviations list here.
See this tutorial post for help with basic crochet stitches.
This hat begins at the top with a Magic Ring and then is worked in continuous rounds and increased to reach full circumference.
Then the sides are formed by working in even rounds.
The brim is formed by working a few rounds with 6 increases each and then additional rounds with only 3 increases each.
The trim just above the brim is made using surface slip stitches.
Special Stitches
Increase (inc): 2 sc in designated st.
Hat
Crown
Make a Magic Ring by wrapping the yarn around the first two fingers of your dominant hand one full time. With your other hand, carefully grab both strands where they meet and pull the ring off your fingers, place your hook through this ring, yarn over, pull up a loop, and you are ready to begin Rnd 1.
Rnd 1: Ch 1, 6 sc in ring, don’t join or turn – 6 sc.
Rnd 2: Inc in first st, place a st marker in the first st to mark BOR and move it up as work progresses, inc in each st around – 12 sc.
Rnd 3: Sc in first st, inc in next st, [sc in next st, inc in next st] 5 times – 18 sc.
Rnd 4: [Sc in each st to next inc, sc in first inc st, inc in second inc st] 6 times – 24 sc.
Tip: If you find it difficult to recognize the increases when you come to them, you can place a stitch marker through the second stitch of each increase when you make it and move it up into the round when you stitch into it.
Repeat Rnd 4 for pattern.
Work in pattern for a total of 9 [10, 11, 13, 14, 15] rnds from beginning of Crown – 54 [60, 66, 78, 84, 90] sts.
Sides
Rnd 1: Sc in each st around.
Repeat Rnd 1 for pattern.
Work in pattern for a total of 20 [24, 26, 30, 32, 36] rnds from beginning of hat.
Brim
This portion of the pattern is available to email subscribers only. Click the box below to unlock this exclusive subscribers-only content with a free email subscription. Add your email and create a password. If you are having trouble, reset your password or login to Grow.
I love sharing crochet and knitting patterns with you! Please don’t copy, paste, or distribute this pattern. Want an ad-free version? Purchase an inexpensive PDF digital pattern from Ravelry or Etsy. I appreciate your reading, buying, and using my patterns! Because of you, I can keep designing.
Embellishment
Rnd 1: With accent color, make a sl knot, but leave it off of hook for now. Beginning in any st 2 rnds before brim, place hook through st, pull loop of sl knot through st, *place hook through next st, yo, pull up a loop, repeat from * until you’ve pulled up a loop in every st of rnd, cut yarn leaving a 6 inch tail, pull end all the way through st, with a tapestry needle, go under both loops of first sl st, go back down through last st, finishing the final sl st by hand – 54 [60, 66, 78, 84, 90] sl sts.
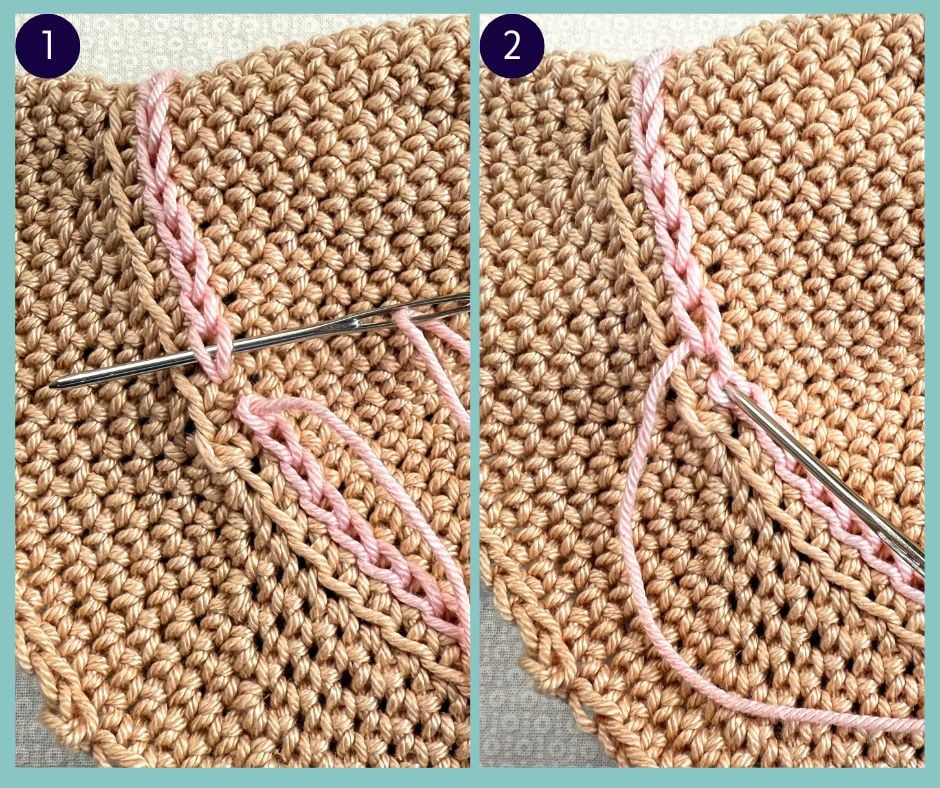
Note: There will be a little jog when you go from the first to the last st of the hat round because of the nature of continuous crochet rounds.
Repeat rnd 1 once or twice more in rounds above the first.
Finishing
Weave in all ends.
I found it best to lay the hat flat on a blocking surface, wet the brim with a spray bottle, and pin in place to even out edges and straighten curling. Allow to air dry.
Though the yarn used can be machine washed and dried, I found it best to hand wash and dry flat. Running through the washer and dryer didn’t change the size of the hat much, but it made it floppier than I cared for.
Finished!
I hope you loved making this crochet bucket hat. I would love to see your in-progress or finished summer hats! You can share them on Instagram and tag me, or you can join my friendly Facebook group and share them there.
Happy crocheting!

Save this for later with Pinterest!


Why can’t I get the pattern to open and print./
I’m not really sure, Diane. I haven’t gotten any other comments or messages about this problem, so I think it might be something to do with your device or browser. You might try with a different device or internet browser and see if that fixes it.