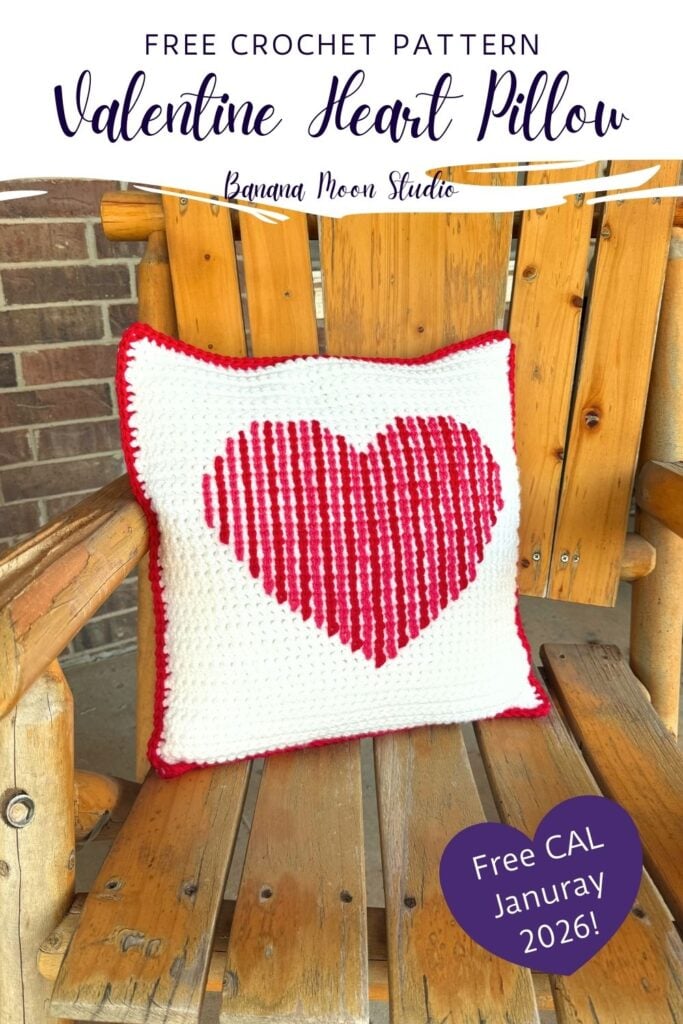
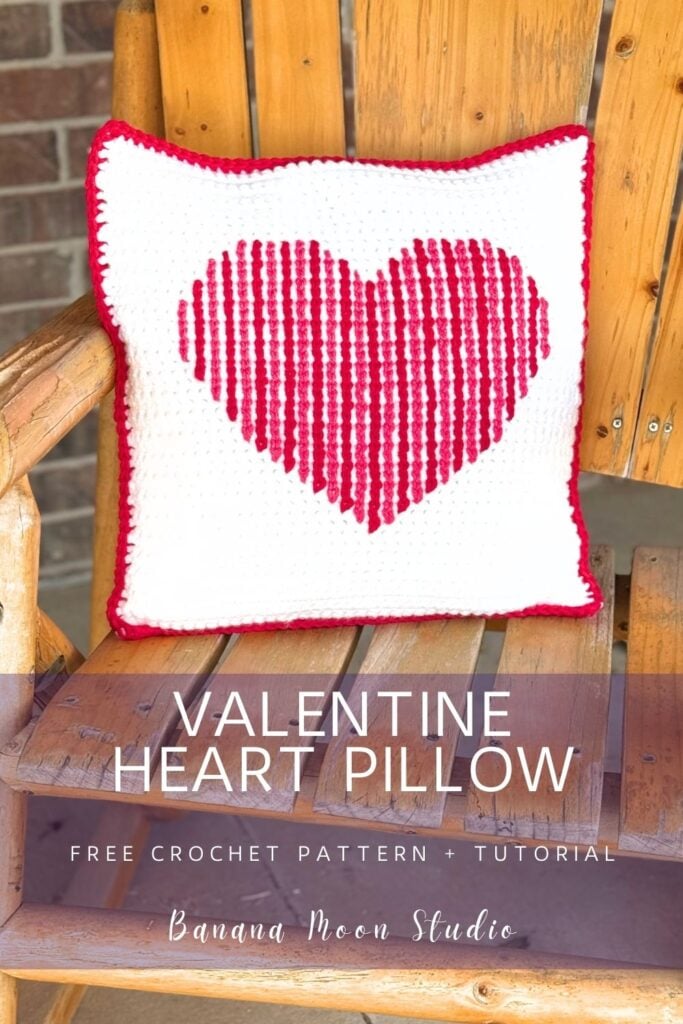
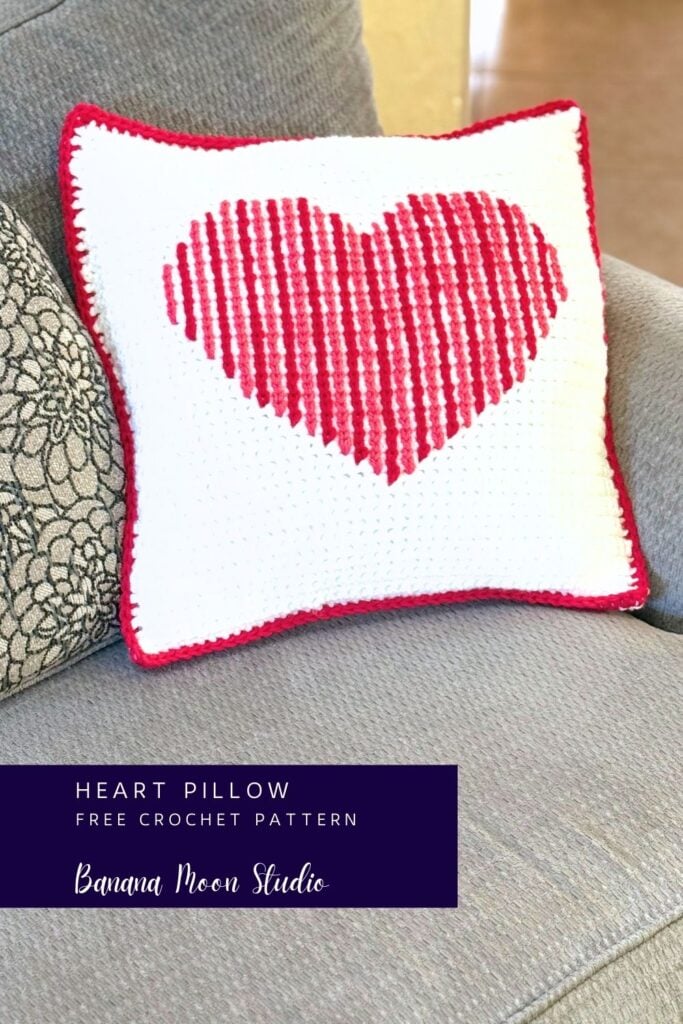
Free Heart Pillow Crochet Pattern
Heart pillow crochet pattern
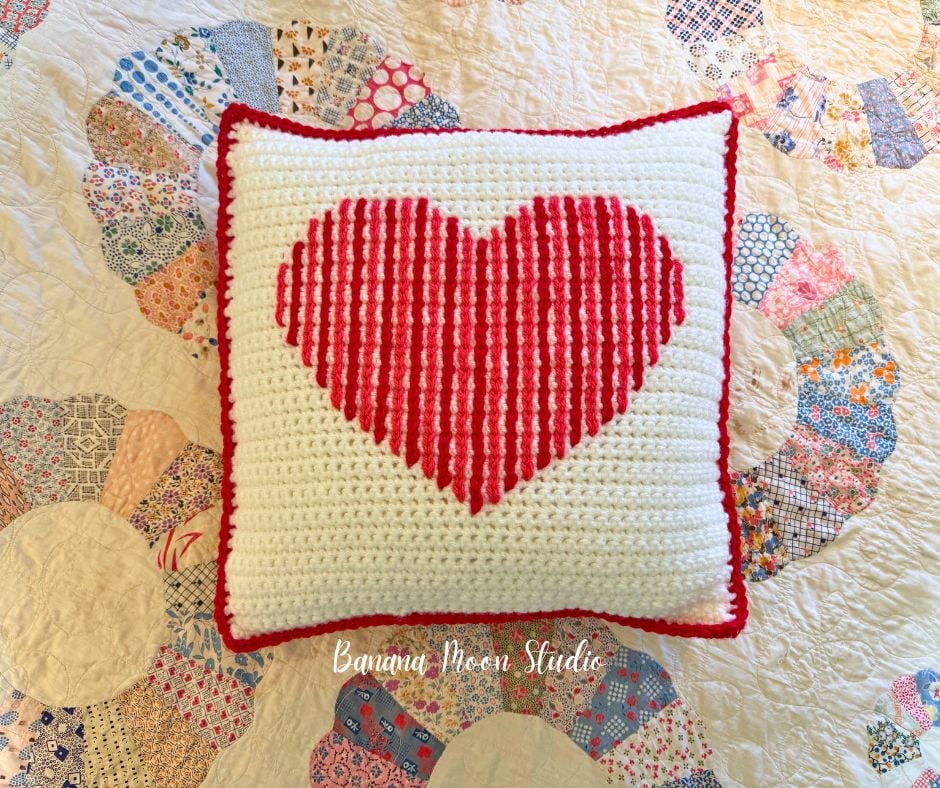
This crochet heart pillow is a great choice for advanced beginners on up. The panels and edging are simple single crochet. The magic is in the addition of the surface crochet heart. And the video tutorial will help you with that if it’s a new skill for you.
This post may contain affiliate links. If you click one and make a purchase, I will earn a small commission at no additional cost to you. See my disclosure for details.
Table of Contents
Crochet throw pillows
Decorative pillows can be a fun home decor project at anytime of year, but it’s especially fun to have one for each season to change out. It’s an easy way to add seasonal decor that doesn’t involve a lot of decorating, or undecorating, effort.
Try one of these fun throw pillow crochet patterns in the color scheme for your room, or in seasonal colors for changing out with the seasons!
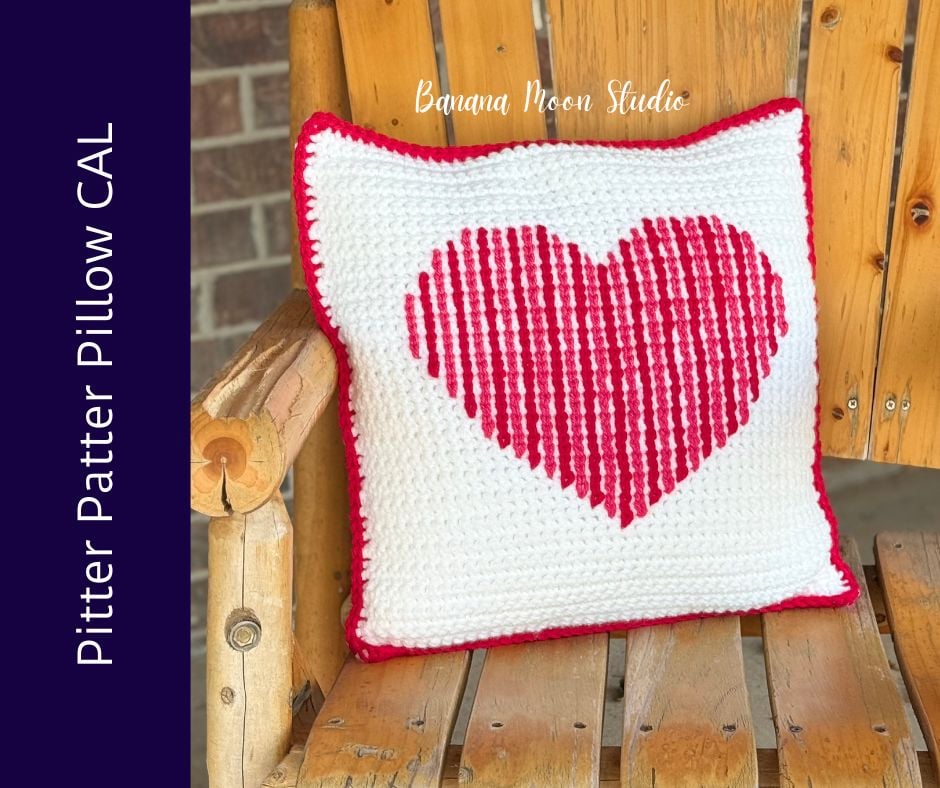
Pitter Patter Pillow CAL
This heart pillow crochet pattern is the featured project in my Pitter Patter Pillow Crochet Along! This fun event begins on January 19, 2026 and continues through January 30th.
What is a crochet along?
Sometimes called a CAL for short, a crochet along is a virtual event in which participants all crochet the same project at the same time and share their progress together.
The project
You will have the option to use the free, ad-supported pattern here on my website, or purchase an inexpensive PDF in one of my shops if you prefer an ad-free experience.
You will need to sign up for my free newsletter with an email address in order to access the full, free pattern. If you decide to use the free version, please bookmark this page and come back to it when you work on your project rather than trying to print or screenshot the page. Your time on this page helps me get paid for my work, so thank you!
Or use one of the buttons below to purchase the PDF starting on January 19th.
How to participate
To participate in the social aspect of the CAL, you will want to join my friendly Facebook group! That’s where all of the discussion about the CAL will take place. You will be able to meet and visit with everyone that is participating and share your progress there.
Prize drawing!
There will also be a prize drawing at the end of the CAL and participation in the Facebook group will count as entries for the drawing!
Each time you post in the group about the CAL or comment on a post about the CAL you will receive one entry in the drawing!
At the end of the CAL I will put all the entries into a spreadsheet and then use a random number generator to choose the winning entry. I will announce the winner on the last day of the CAL, January 30th.
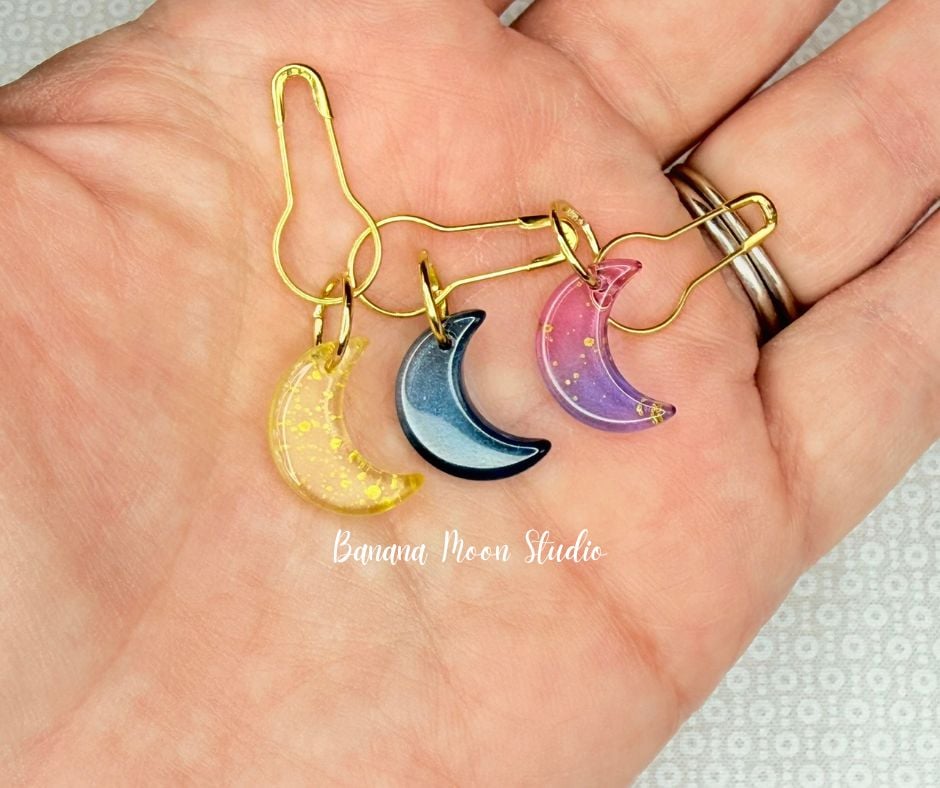
The winner will receive a set of Banana Moon Studio stitch markers from me and a free pattern download of their choosing!
The header information for the pattern is below. The first thing to do in order to participate is to check the supply list and either purchase or stash dive to be sure you have the needed materials.
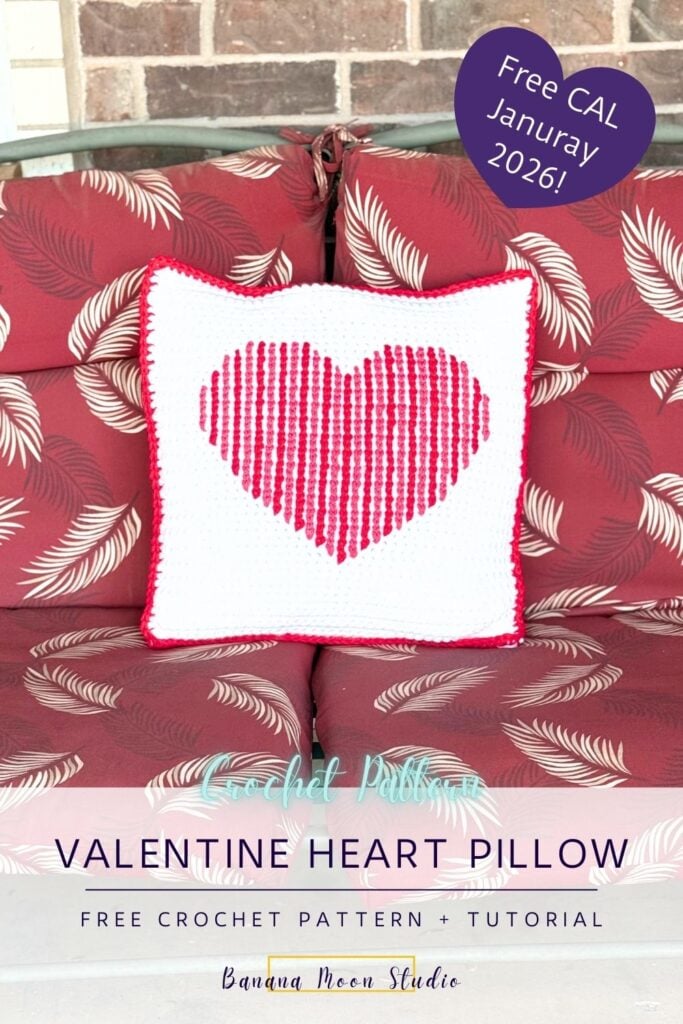
Pitter Patter Pillow, a heart pillow crochet pattern
By April Garwood of Banana Moon Studio
(C)2025 April Garwood. As with all my patterns, please do not make paper or digital copies for others. Instead, please direct them to my website to get their own. Thank you!
Difficulty Level: Easy+
Finished Measurements: 18 inches square
Yarn: We Crochet Brava Bulky (100% Premium Acrylic; 136 yds; 100 g; yarn weight category Bulky/5): 4 skeins White (A), 1 skein Rouge (B), and 1 skein Red (C)
Shop We Crochet Brava Bulky yarn here.
Yardage: 440 yds White, 41 yds Rouge, and 66 yds Red
Crochet Hook: M (8 mm), or size needed to match gauge
I use and recommend Furl’s Streamline Metal crochet hooks!
Notions:
Gauge: 9 sts x 12 rows = 4 inches in single crochet
Notes
This pattern uses standard US terms. For help with abbreviations, get my free, printable crochet abbreviations list here.
See this tutorial post for help with basic crochet stitches.
Video tutorial
Click on the thumbnail below to view the full video tutorial for this crochet heart pillow on YouTube.

Pillow
Panel (make 2)
With White ch 42.
Row 1 (RS): Sc in 2nd ch from hook and each remaining ch across, turn – 41 sc.
Row 2: Ch 1, sc in first st and each remaining st across, turn.
Repeat Row 2 for a total of 51 rows. Fasten off.
Surface Crochet Heart
Use locking st markers to mark the center st along the top edge of each Panel, the center ch along the bottom edge, and the center row along both sides.
Each column of surface sl sts will be worked from bottom to top as follows:
With specified color make a sl knot, but do not place it on your hook, with RS of one panel facing, insert hook where directed, place sl knot on hook and pull loop through panel, *insert hook into the st 1 row up, yo, pull through panel and loop on hook to make a sl st, repeat from * until you’ve completed the specified number of sl sts, cut yarn leaving a 6 inch tail, pull tail all the way through the panel, then use hook to pull tail to the back through the same stitch it is coming out of.
Begin by working the heart on one panel and then repeat for the second panel.
Column 1: With B, insert hook 3 rows up from center and 8 sts into right edge of panel, work 6 sl sts.
Column 2: With C, insert hook 2 rows below and 1 st to the left of the start of previous column, work 10 sl sts.
Column 3: With B, insert hook 2 rows below and 1 st to the left of the start of previous column, work 14 sl sts.
Column 4: With C, insert hook 2 rows below and 1 st to the left of the start of previous column, work 17 sl sts.
Column 5: With B, insert hook 2 rows below and 1 st to the left of the start of previous column, work 20 sl sts.
Column 6: With C, insert hook 1 row below and 1 st to the left of the start of previous column, work 21 sl sts.
Column 7: With B, insert hook 1 row below and 1 st to the left of the start of previous column, work 22 sl sts.
Column 8: With C, insert hook 1 row below and 1 st to the left of the start of previous column, work 23 sl sts
Column 9: With B, insert hook 1 row below and 1 st to the left of the start of previous column, work 24 sl sts.
Column 10: With C, insert hook 1 row below and 1 st to the left of the start of previous column, work 25 sl sts.
Column 11: With B, insert hook 1 row below and 1 st to the left of the start of previous column, work 25 sl sts.
Column 12: With C, insert hook 1 row below and 1 st to the left of the start of previous column, work 25 sl sts.
Column 13: With B, insert hook 1 row below and 1 st to the left of the start of previous column, work 25 sl sts.
Column 14: With C, insert hook 1 row below and 1 st to the left of the start of previous column, work 25 sl sts. This is the center column and should line up with your top and bottom center markers.
Column 15: With B, insert hook 1 row above and 1 st to the left of the start of previous column, work 25 sl sts.
Column 16: With C, insert hook 1 row above and 1 st to the left of the start of previous column, work 25 sl sts.
Column 17: With B, insert hook 1 row above and 1 st to the left of the start of previous column, work 25 sl sts.
Column 18: With C, insert hook 1 row above and 1 st to the left of the start of previous column, work 25 sl sts.
Column 19: With B, insert hook 1 row above and 1 st to the left of the start of previous column, work 24 sl sts.
Column 20: With C, insert hook 1 row above and 1 st to the left of the start of previous column, work 23 sl sts.
Column 21: With B, insert hook 1 row above and 1 st to the left of the start of previous column, work 22 sl sts.
Column 22: With C, insert hook 1 row above and 1 st to the left of the start of previous column, work 21 sl sts.
Column 23: With B, insert hook 1 row above and 1 st to the left of the start of previous column, work 20 sl sts.
Column 24: With C, insert hook 2 rows above and 1 st to the left of the start of previous column, work 17 sl sts
Column 25: With B, insert hook 2 rows above and 1 st to the left of the start of previous column, work 14 sl sts.
Column 26: With C, insert hook 2 rows above and 1 st to the left of the start of previous column, work 10 sl sts.
Column 27: With B, insert hook 2 rows above and 1 st to the left of the start of previous column, work 6 sl sts.
Weave in all ends.
Chart
This portion of the pattern is available to email subscribers only. Click the box below to unlock this exclusive subscribers-only content with a free email subscription. Add your email and create a password. If you are having trouble, reset your password or login to Grow.
I love sharing crochet and knitting patterns with you! Please don’t copy, paste, or distribute this pattern. Want an ad-free version? Purchase an inexpensive PDF digital pattern from Ravelry or Etsy. I appreciate your reading, buying, and using my patterns! Because of you, I can keep designing.
Each square on this chart represents a single crochet stitch of the Panel. Each red or pink square also represents a surface slip stitch. The surface slip stitches will be worked in columns beginning from the bottom and working up, fastening off at the end of each column. All the stitches in one column will be the same color.
Use locking st markers to mark the center st along the top edge of each Panel, the center ch along the bottom edge, and the center row along both sides.
The First Column is the rightmost column of 6 pink squares on the chart. To begin this column, with the RS of the Panel facing you, locate the single crochet stitch where the column begins by counting 3 rows up from the marked center row on the right side of the Panel, and the 8th st from the right edge of the Panel.
All of the columns after that can be started by counting stitches and rows from the start of the column before.
You will always work the same number of surface slip stitches as there are colored squares in the column on the chart.
When you finish the correct number of slip stitches, you may notice that if you continue counting the unworked rows above the column, there will be one fewer unworked row than the chart shows. This is because you don’t actually finish a slip stitch until you pull a loop through the row above it, so the white square above each column will have a loop pulled through it to finish the surface slip stitch beneath it.

Edging
Place both Panels with WS facing each other.
Rnd 1: Working through both layers, with C (join with sc, 2 more sc) in first st of top edge, sc across to last st, 3 sc in last st, turn work 90 degrees, skip first row end, [sc in next 4 row ends, skip next row end] 10 times, place pillow insert between the Panels, turn work 90 degrees, 3 sc in first ch, sc in each ch to last ch, 3 sc in last ch, turn work 90 degrees, skip first row end, [sc in next 4 row ends, skip next row end] 10 times, sl st in first st to join – 170 sc. Fasten off.
Finishing
Weave in any remaining ends. Enjoy!
I would love to see photos of your in-process or finished projects! You can share them on Instagram and tag me, or you can join my friendly Facebook group and share them there.
Happy crocheting!