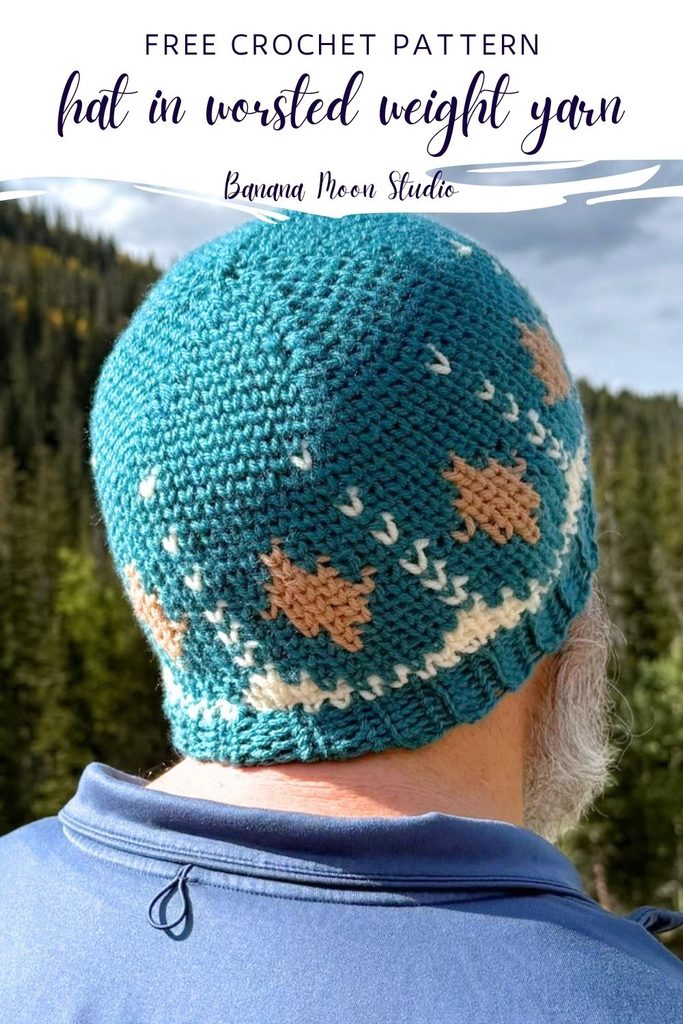
Free Fair Isle Crochet Hat Pattern
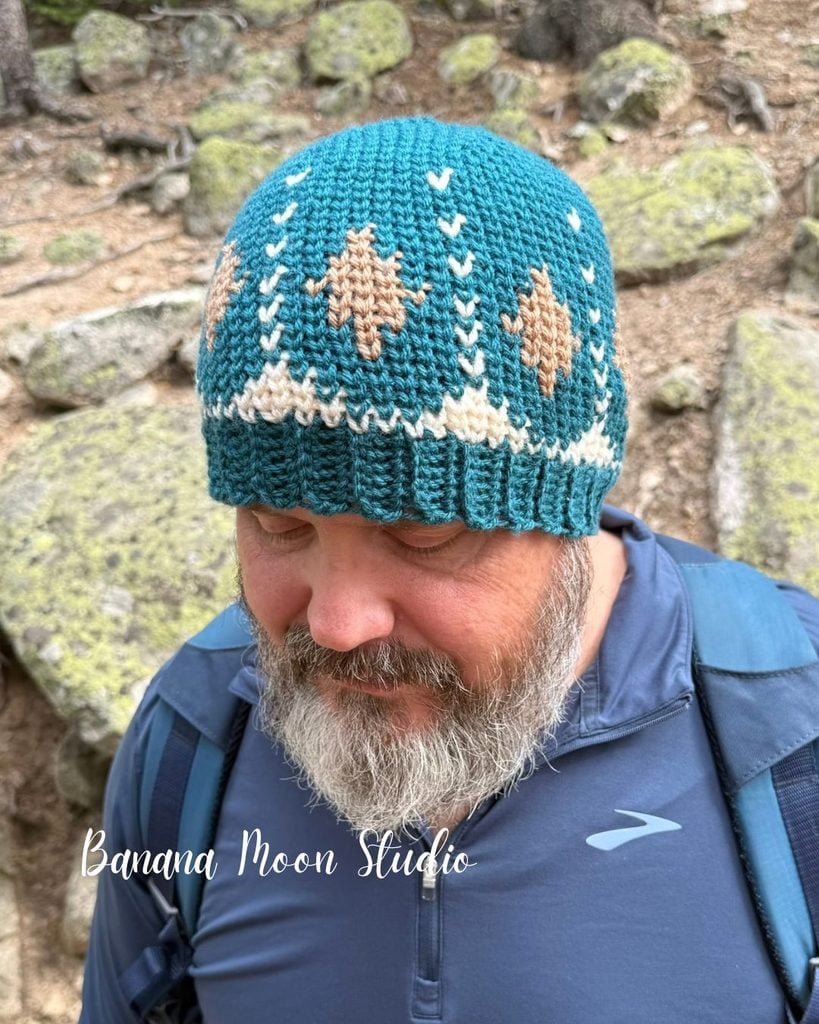
Fair Isle crochet beanie
You’re going to love this Fair Isle crochet hat pattern! The free pattern includes five sizes from Preemie to Adult. The hat uses worsted weight yarn in three colors.
The free, ad-supported crochet pattern is in this post. Visit my shop if you prefer the AD-FREE PDF.
This post may contain affiliate links. If you click one and make a purchase, I will earn a small commission at no additional cost to you. See my disclosure for details.
Table of Contents
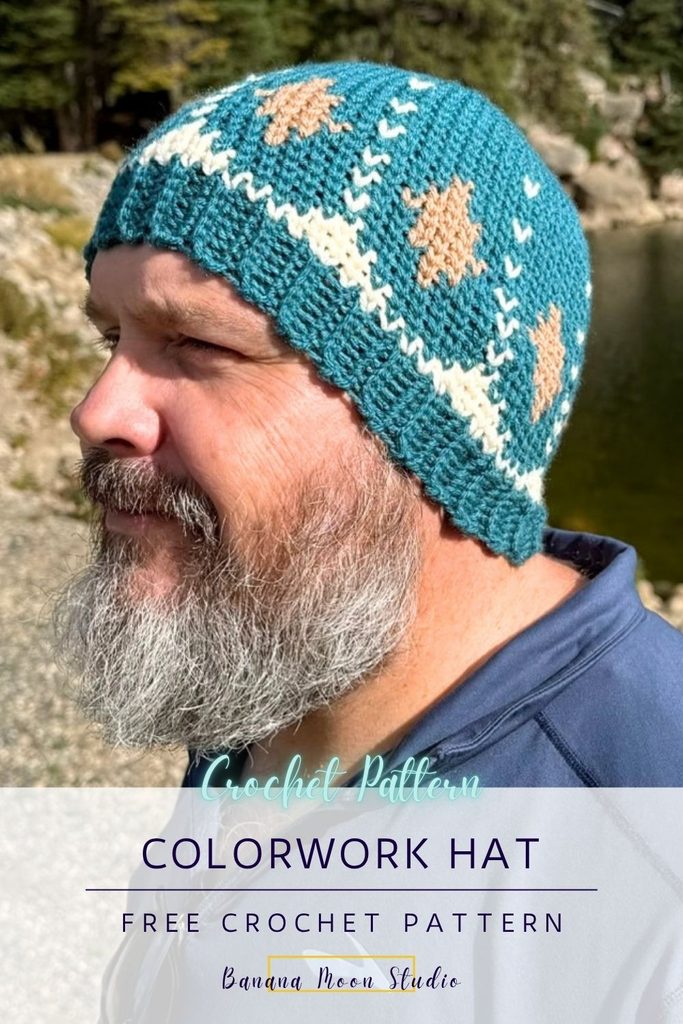
What is Fair Isle crochet?
Fair Isle was a style first used in knitting. It was a style developed in the UK, on a small island in Scotland. It began with sweaters.
Traditionally it was always worked in the round. Each round never used more than two colors, so this hat is not, strictly speaking, Fair Isle since some of the rows with the diamonds use three colors.
Also, Fair Isle projects typically feature geometric designs. The color that isn’t being used at the moment is “floated” across the wrong side. We also sometimes call this stranded knitting. In this case it’s crochet, but I don’t think I’ve heard/seen someone use the term stranded crochet, but we can begin, can’t we!
The floats across the wrong side are just strands of the unused color that stretch across the section of the other color. Thus the term “stranded” knitting/crochet.
In order to have your Fair Isle crochet hat turn out nicely, you have to get these strands not too tight and also not too loose. There has to be enough slack in the strand so that your piece can still stretch, but you also don’t want big loose strands of yarn hanging all over the place on the inside.
It’s not as finicky as it sounds thought, so don’t stress. You’ll get it!
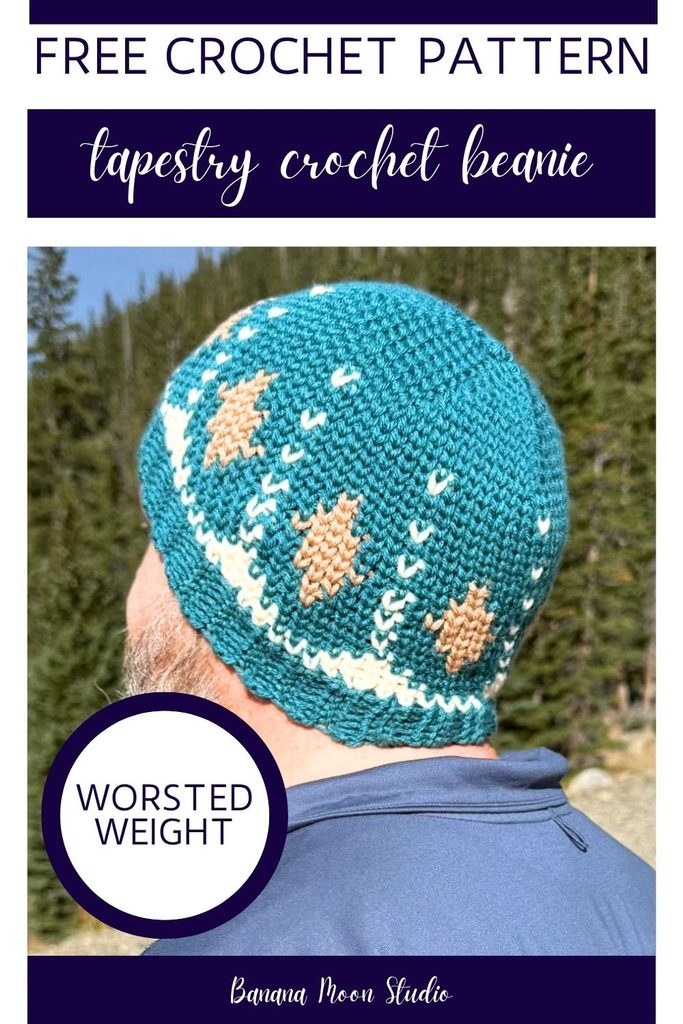
Where can I get this colorwork beanie pattern?
This Fair Isle beanie pattern is available free right here in this post! Just scroll down for the free version.
If you decide to use the free version, please bookmark this page and come back to it when you work on your project rather than trying to print or screenshot the page. Your time on this page helps me get paid for my work, so thank you!
You also have the option to purchase an ad-free PDF of this crochet pattern in my Etsy or Ravelry shop. Use the buttons below to visit my shops.
Thanksgiving Caps CAL
In November 2026 this crochet beanie pattern will be featured in the Thanksgiving Caps CAL hosted by myself!
This event is all about crocheting hats to donate to people and organizations that help those in need! This is such a great way to start off the holiday season!
Get all the details about the Thanksgiving Caps CAL when you tap/click the button below.
For this crochet along this and other beanie patterns will be either discounted or free to download! To get this crochet pattern you can use the free, ad-supported version below, or you can get 50% off the download with the code given in the roundup post.
Scroll to the bottom of this post and click/tap the “get the CROCHET PATTERN” button to go to my shop for the discount!
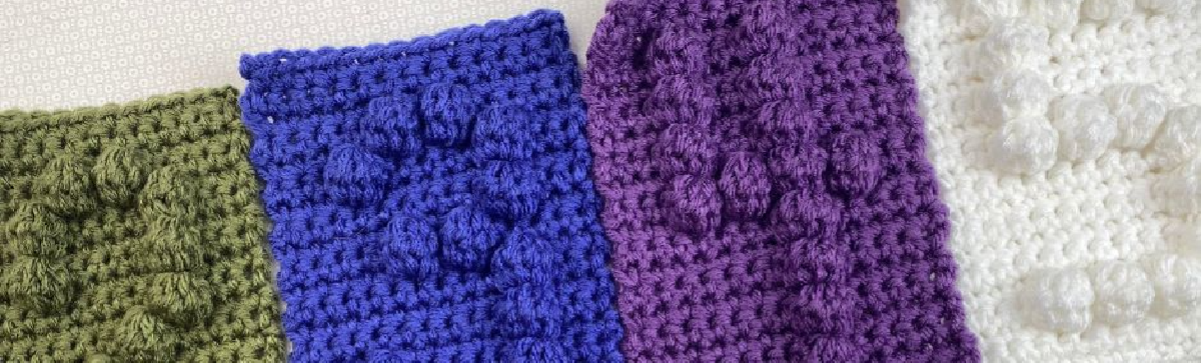
Atwood Beanie, a Fair Isle crochet hat pattern
By April Garwood of Banana Moon Studio
(C)2026 April Garwood. As with all my patterns, please do not make paper or digital copies for others. Instead, please direct them to my website to get their own. Thank you!
Difficulty Level: Intermediate
Materials
Yarn: We Crochet Brava Worsted (100% Premium Acrylic; 218 yds; 100 g; yarn weight category 4/Worsted/Medium): #28453 Tidepool (A), #28424 Cream (B), #28410 Almond (C)
Yardage: Color A 35 [59, 83, 120, 153]; Color B 11 [13, 15, 17, 19] yds; Color C 12 [13, 15, 17, 18] yds
Crochet Hook: K (6.5 mm), or size needed to match gauge.
I use and recommend Furl’s Streamline Metal crochet hooks!
Notions:
Gauge & Sizing
Available Sizes: Preemie [Baby, Toddler, Tween, Adult]
Finished Measurements: Hat circumference 10 [12 ½, 15, 17 ½, 20] inches; Hat height 5 [6 ½, 7 ½, 9, 10] inches
Gauge: 13 sts x 16 rnds = 4 inches in split single crochet
Abbreviations Used
- blo: through back loop only
- ch: chain
- rnd: round
- RS: right side
- sc: single crochet
- sl st: slip stitch
- st(s): stitch(es)
- WS: wrong side
- yo: yarnover
Notes
This hat begins with a ribbed band worked in rows of single crochet in the back loop. The short ends of the band are seamed.
The main body of the hat begins by working a round of single crochet into the row ends of the seamed band. Remaining rounds are worked continuously in split single crochet without joining or turning at the end of rounds.
This pattern uses standard US terms. For help with abbreviations, get my free, printable crochet abbreviations list here.
See this tutorial post for help with basic crochet stitches.
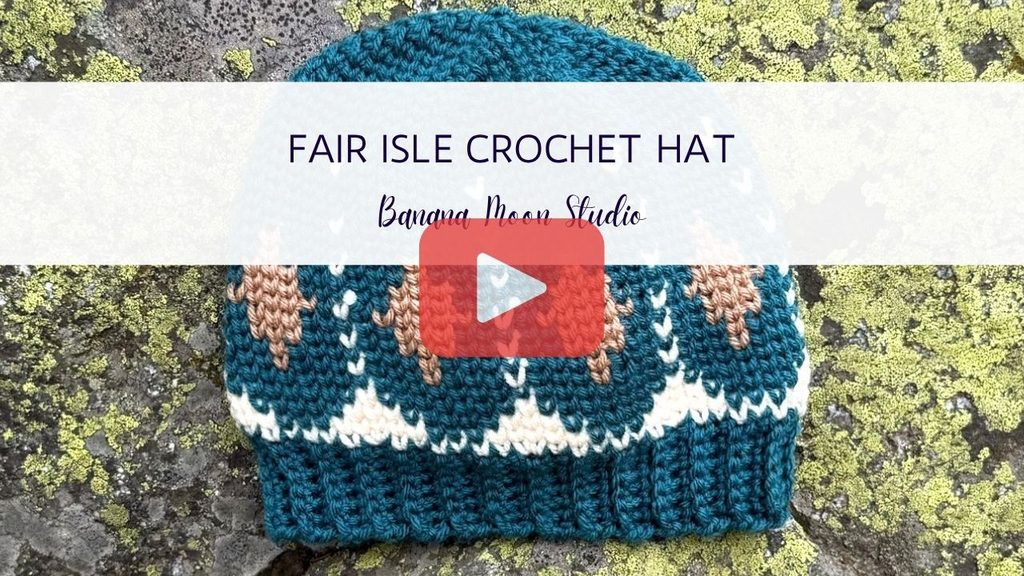
Video Tutorial
Special Stitches
Split single crochet (ssc): Insert hook into st between the two legs of the V at the bottom of the st, coming out the back between the two legs at the back of the st, yo, pull up a loop, yo, pull through both loops on hook.
Decrease (dec): Insert hook into first st as for a ssc, yo, pull up a loop, insert hook into second st as for a ssc, yo, pull up a loop, yo, pull through all 3 loops on hook.
Beanie
Ribbed Band
With A, ch 4 [4, 6, 6, 8]
Row 1: Sc in bottom ridge loop of 2nd ch from hook and each remaining ch, turn – 3 [3, 5, 5, 7] sc
Row 2: Ch 1, sc blo in each st across, turn.
Repeat Row 2 until you’ve worked a total of 28 [35, 42, 49, 56] rows.
After turning piece, bring beginning short end up behind and even with working edge, making sure not to twist the band. Working through blo of sts of working edge, and under both loops of foundation chs, sl st across, working through both layers. The piece is now WS out. Turn it RS out.
Color Changes
In the next section of this hat pattern you will need to make frequent color changes. To change colors, work the stitch before the change until you have the two final loops on the hook.
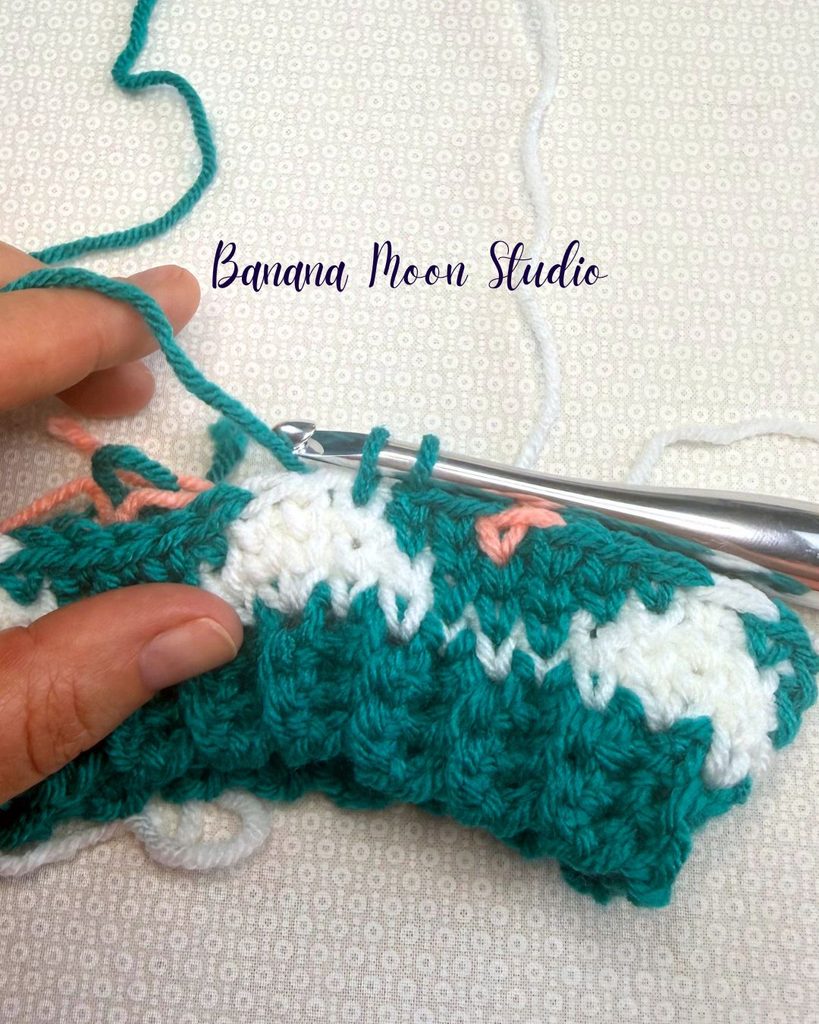
Instead of yarning over and pulling through those loops, leave the yarn to the WS of the project, yarn over with the color for the next stitch, pull that through the two loops, and then make the next stitch in this new color.
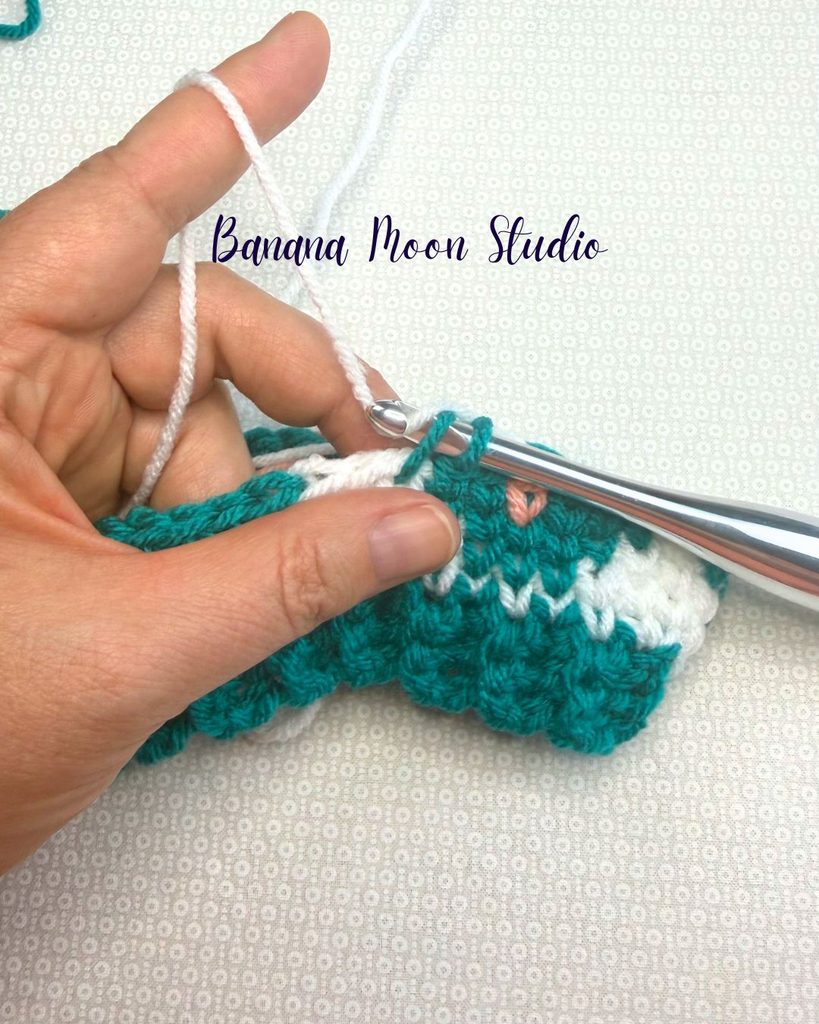
Between stitches of the same color you will stretch the unused yarn across the WS of the project. We call this strand of yarn a “float.” In the photo below, I’m about to change colors. You can see the peach yarn I’m about to pick up. I will leave it stretched out across the WS like the other strands you see.
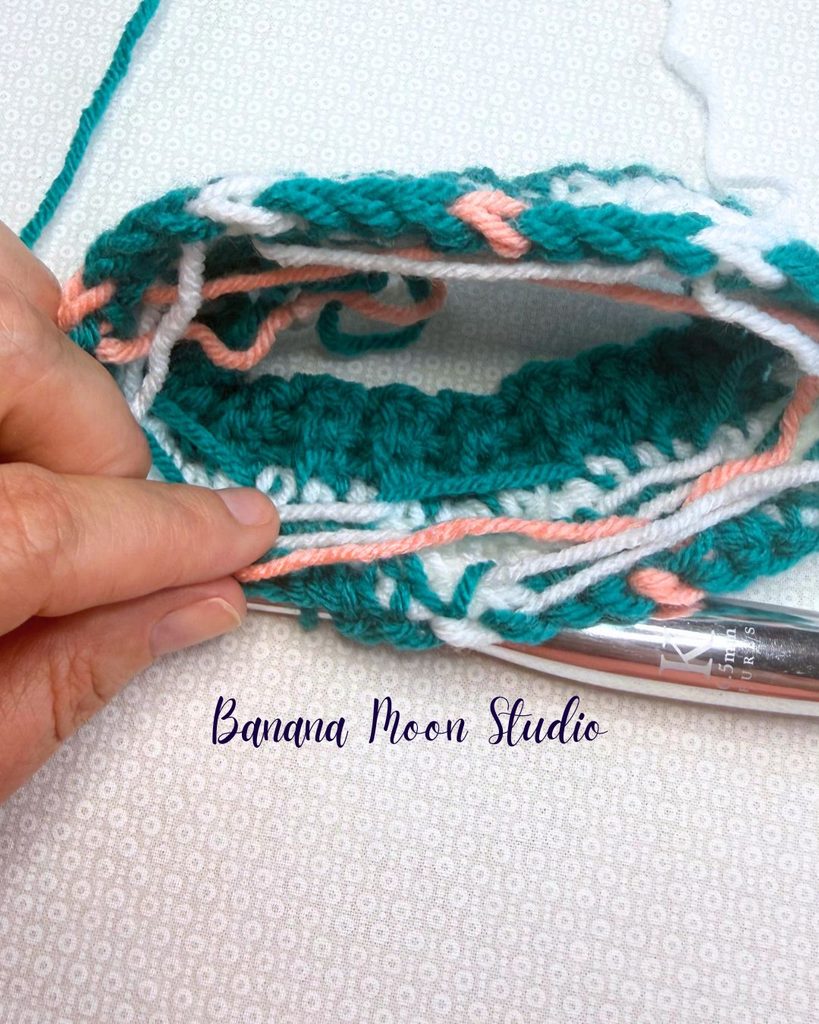
Floats need to be not too tight and not too loose. If it’s too tight, then your hat will pucker or not be stretchy. If it’s too loose then your stitches will be too loose.
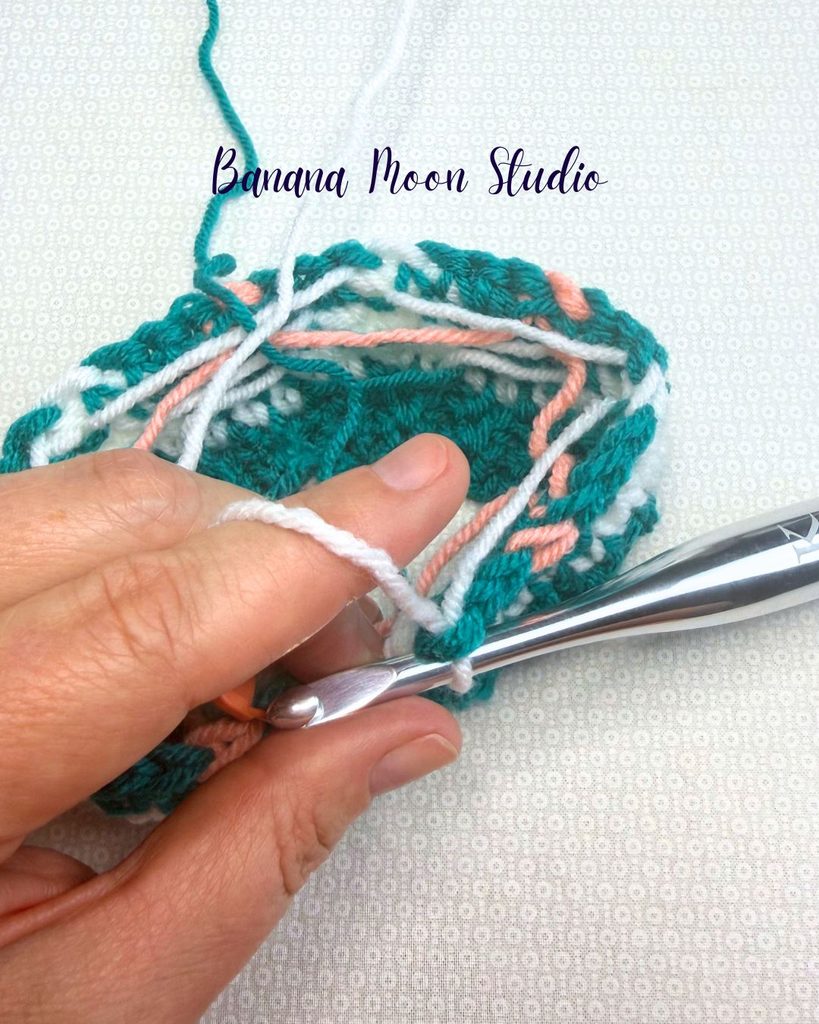
When you first pull a loop of a new color through to finish a stitch and make a color change, pause for a minute and look at your float.
You can adjust it at this point by loosening or tightening. Your float needs just enough give to allow your hat to stretch. The photo below shows the right point in stitching to make that adjustment.
Main Body of Hat
Tip: Do not cut color A here. You will need it for the colorwork in Rnd 2.
Rnd 1 (RS): With B, ch 1 by pulling a loop of B through loop of A on hook, sc in first row end, place marker in 1st st and move up as work progresses, sc in next 5 row ends, 2 sc in next row end, *sc in next 6 row ends, 2 sc in next row end, repeat from * around, sl st in first st to join, do not turn – 32 [40, 48, 56, 64] sc.
Now you will begin working in continuous rnds without joining at the end of rnds.
Rnd 2: Ch 1, ssc in each st around, following Color Placement Instructions or Chart below for color placement.
Rnd 3: Ssc in each st around, following chart or Color Placement Instructions below for color placement.
Repeat Rnd 3 for a total of 11 [16, 17, 21, 22] rnds since finishing ribbed band.
Color Placement Instructions
In these instructions you will see a capital letter that specifies which of the three colors to use A, B, or C. After it you will see a number indicating the number of stitches to be worked in the designated color.
Rnd 1: B in every st.
Rnd 2: *B 1, A 3, B 4, repeat from * around.
Preemie size only
Rnd 3: *A 2, C 1, A 2, B 3, repeat from * around.
Rnd 4: *A 2, C 1, A 3, B 1, A 1, repeat from * around.
Rnd 5: *A 1, C 3, A 4, repeat from * around.
Rnd 6: *A 1, C 3, A 2, B 1, A 1, repeat from * around.
Rnd 7: *C 5, A 3, repeat from * around.
Rnd 8: Repeat Rnd 6.
Rnd 9: Repeat Rnd 5.
Rnd 10: *A 2, C 1, A 5, repeat from * around.
Rnd 11: Repeat Rnd 4.
Baby and Toddler Sizes
Rnd 3: *A 5, B 3, repeat from * around.
Rnd 4: *A 2, C 1, A 3, B 1, A 1, repeat from * around.
Rnd 5: *A 2, C 1, A 5, repeat from * around.
Rnd 6: *A 1, C 3, A 2, B 1, A 1, repeat from * around.
Rnd 7: *A 1, C 3, A 4, repeat from * around.
Rnd 8: *C 5, A 1, B 1, A 1, repeat from * around.
Rnds 9-10: Repeat Rnd 7.
Rnds 11-12: Repeat Rnds 4-5.
Rnd 13: A in every st.
Rnd 14: *A 6, B 1, A 1, repeat from * around.
Rnds 15-16 [17]: A in every st.
Tween and Adult sizes only
Rnd 3: *A 5, B 3, repeat from * around.
Rnd 4: *A 6, B 1, A 1, repeat from * around.
Rnd 5: A in every st.
Rnd 6: *A 2, C 1, A 3, B 1, A 1, repeat from * around.
Rnd 7: *A 2, C 1, A 5, repeat from * around.
Rnd 8: *A 1, C 3, A 2, B 1, A 1, repeat from * around.
Rnd 9: *A 1, C 3, A 4, repeat from * around.
Rnd 10: *C 5, A 1, B 1, A 1, repeat from * around.
Rnds 11-12: Repeat Rnd 9.
Rnd 13: Repeat Rnd 6.
Rnd 14: Repeat Rnd 7.
Rnd 15: A in every st.
Rnd 16: Repeat Rnd 4.
Rnds 17-19: A in every st.
Rnd 20: Repeat Rnd 4.
Rnd 21: A in every st.
Adult size only
Rnd 22: A in every st.
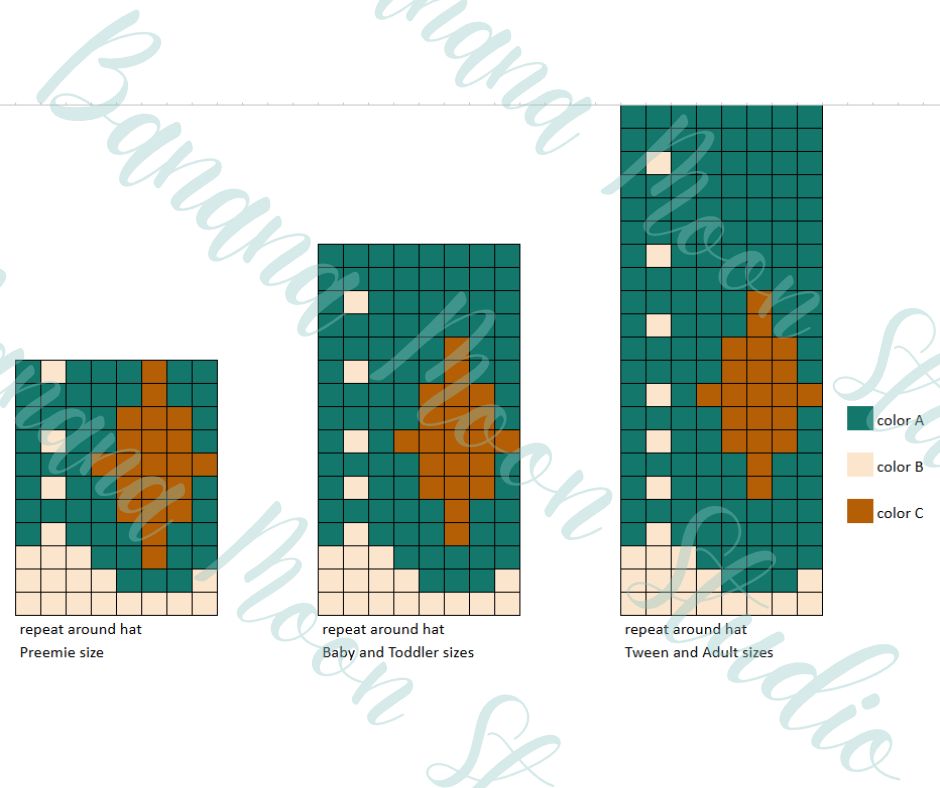
Chart
The chart shows color placement for an 8 stitch section. This will be repeated around the hat 4 [5, 6, 7, 8] times. Chart should be followed from right to left.
Crown
Continuing with color A, work in the Crown pattern for a total of 4 [5, 6, 8, 9] rnds then skip to Final Decrease Rnd.
Rnd 1: *Ssc in next 14 [8, 6, 26, 14] sts, dec over next 2 sts, repeat from * around – 30 [36, 42, 54, 60] sts.
Rnd 2: *Ssc in next 3 [4, 5, 7, 8] sts, dec over next 2 sts, repeat from * around – 24 [30, 36, 48, 54] sts.
Rnd 3: *Ssc in next 2 [3, 4, 6, 7] sts, dec over next 2 sts, repeat from * around – 18 [24, 30, 42, 48] sts.
Rnd 4: *Ssc in next 1 [2, 3, 5, 6] sts, dec over next 2 sts, repeat from * around – 12 [18, 24, 36, 42] sts.
Rnd 5: *Ssc in next x [1, 2, 4, 5] sts, dec over next 2 sts, repeat from * around – x [12, 18, 30, 36] sts.
Rnd 6: *Ssc in next x [x, 1, 3, 4] sts, dec over next 2 sts, repeat from * around – x [x, 12, 24, 30] sts.
Rnd 7: *Ssc in next x [x, x, 2, 3] sts, dec over next 2 sts, repeat from * around – x [x, x, 18, 24] sts.
Rnd 8: *Ssc in next x [x, x, 1, 2] sts, dec over next 2 sts, repeat from * around – x [x, x, 12, 18] sts.
Rnd 9: *Ssc in next st, dec over next 2 sts, repeat from * around – x [x, x, x, 12] sts.
Final Decrease Rnd: [Dec over next 2 sts] 6 times, sl st in next st – 6 dec. Fasten off with a long tail.
Finishing
With long tail and tapestry needle, weave tail back and forth through tops of last rnd of sts, pull tail to close hole, weave tail around another 1 or 2 times to secure. Take tail to inside of hat.
Weave in all ends. Enjoy!
The free, ad-supported crochet pattern is in this post. Visit my shop if you prefer the AD-FREE PDF.
I hope you have loved crocheting this Fair Isle crochet hat pattern!
I would love to see photos of your in-process or finished projects! You can share them on Instagram and tag me, or you can join my friendly Facebook group and share them there.
Happy crocheting!

P.S. – To get the discounted download of this pattern for the Thanksgiving Caps CAL, first make sure you have the coupon code given in the roundup post, then click/tap the button below to go to my shop! Add the pattern to your cart. Use the coupon code at checkout and you will receive the discount! Enjoy!
Save this for later with Pinterest!