Easy Crochet Scarf Pattern
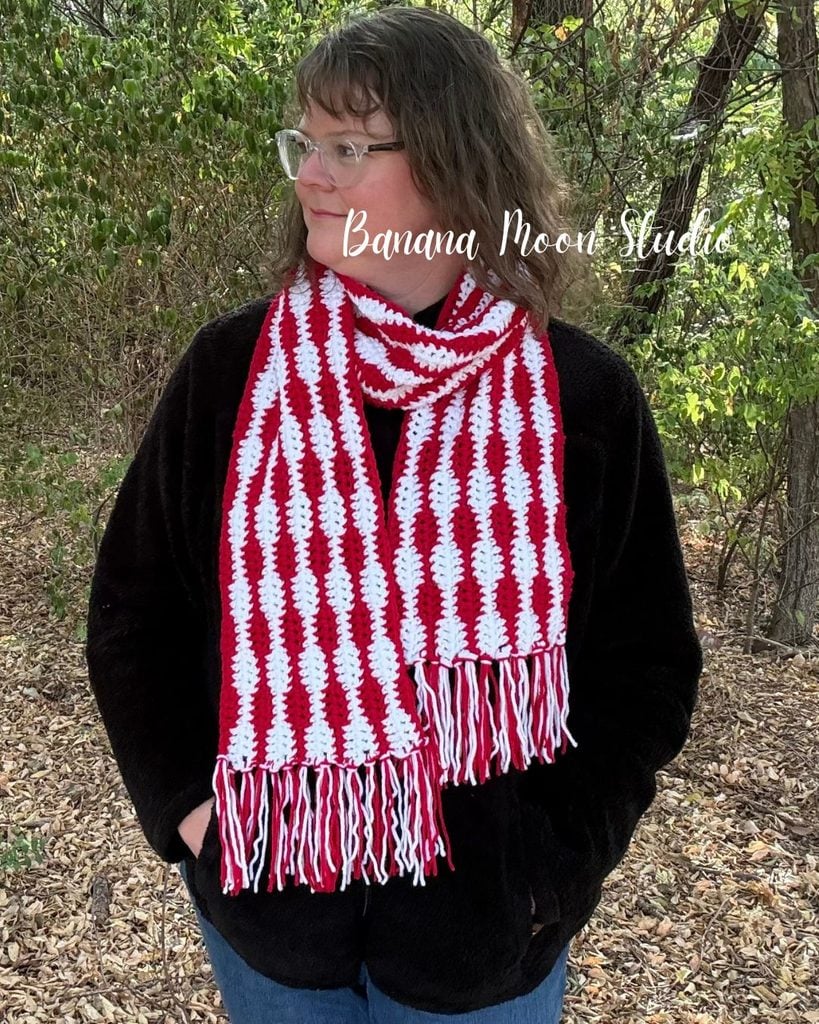
Easy crochet scarf pattern with stripes!
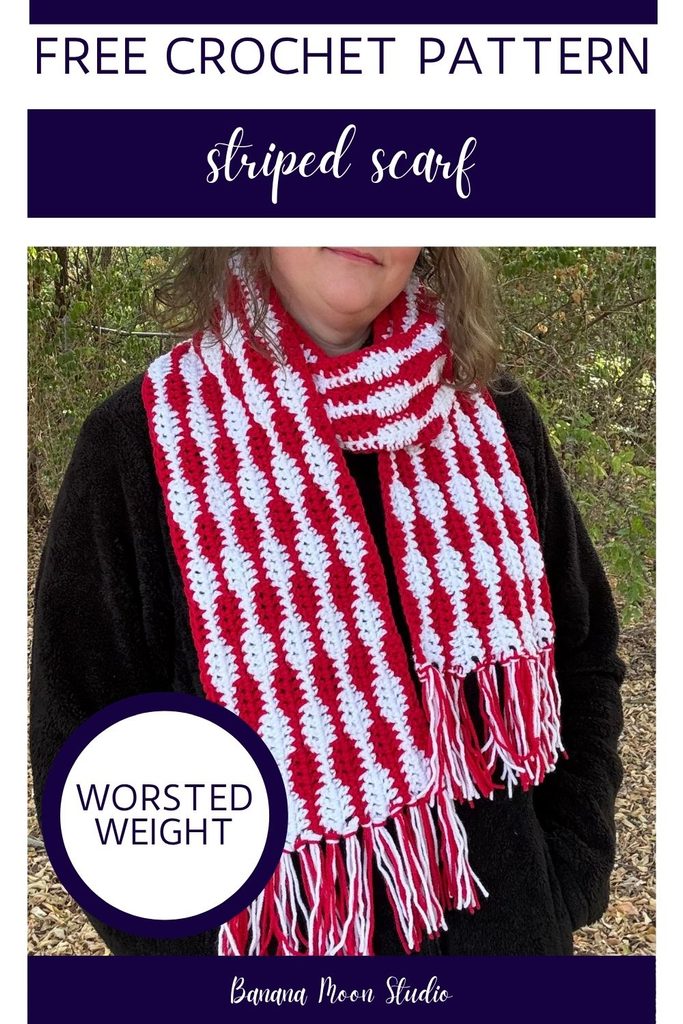
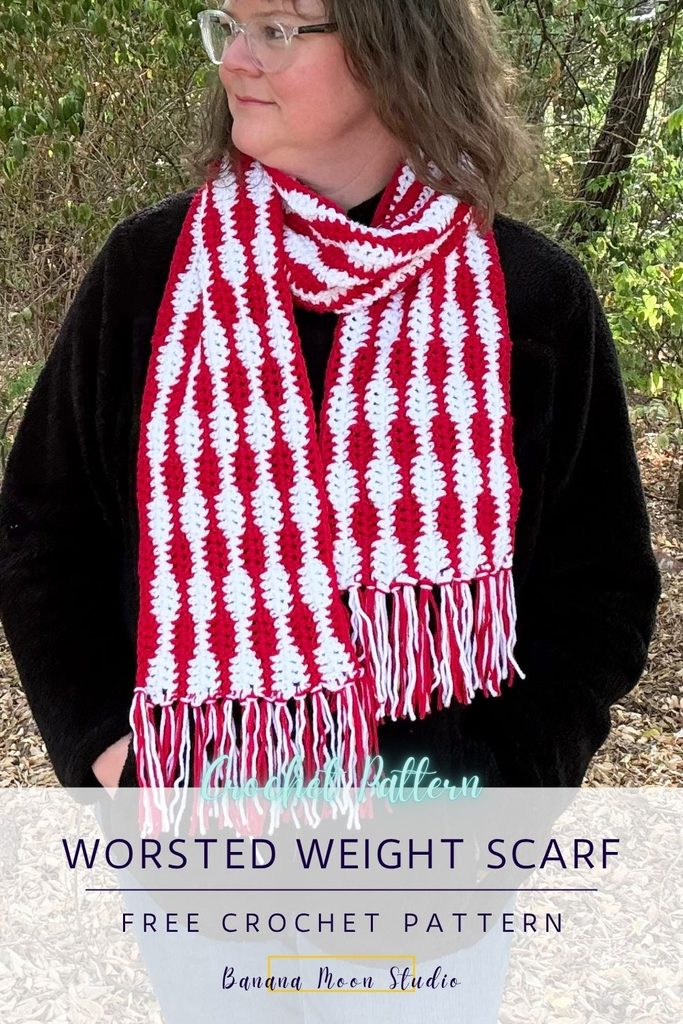
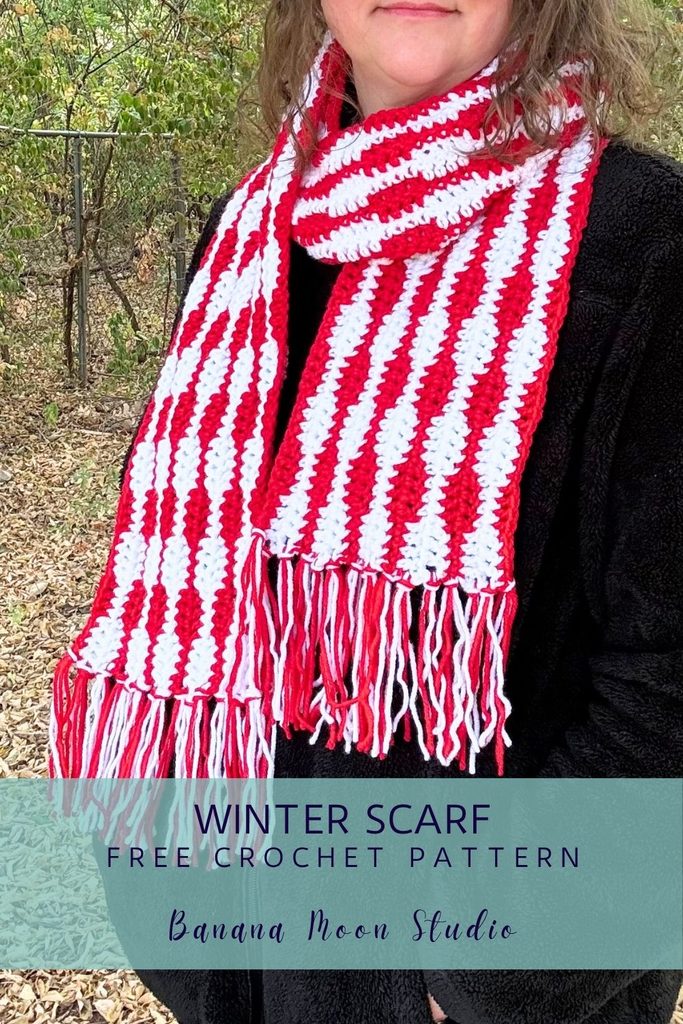
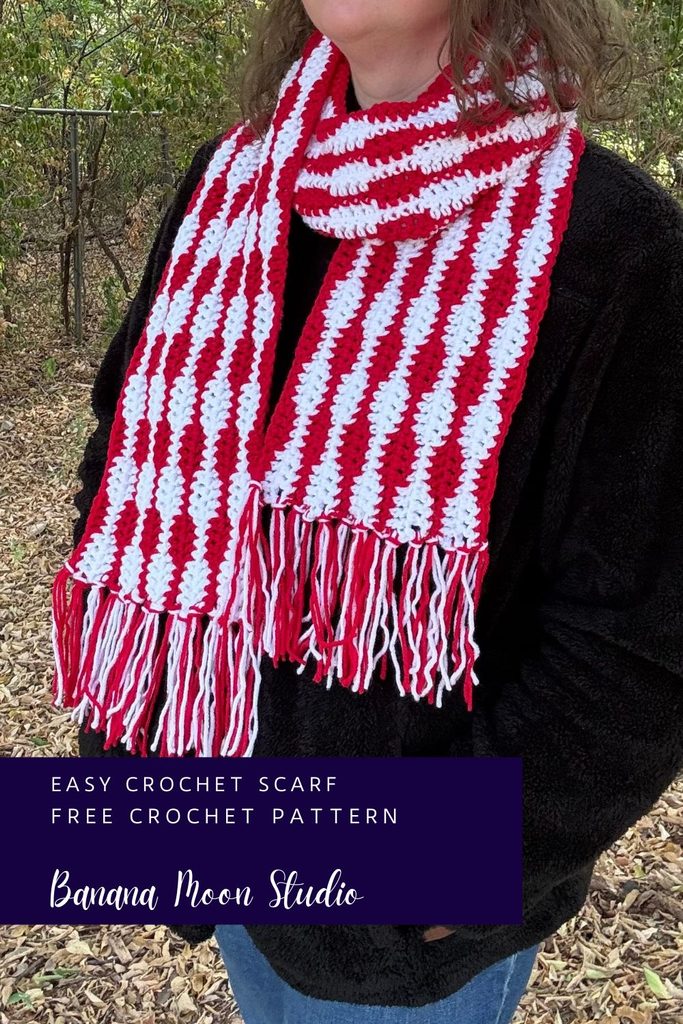
This easy crochet scarf pattern uses two colors of worsted weight yarn to make a striped scarf that is a great choice for women and men! The finished scarf is about 8 x 71 inches.
This post may contain affiliate links. If you click one and make a purchase, I will earn a small commission at no additional cost to you. See my disclosure for details.
Table of Contents
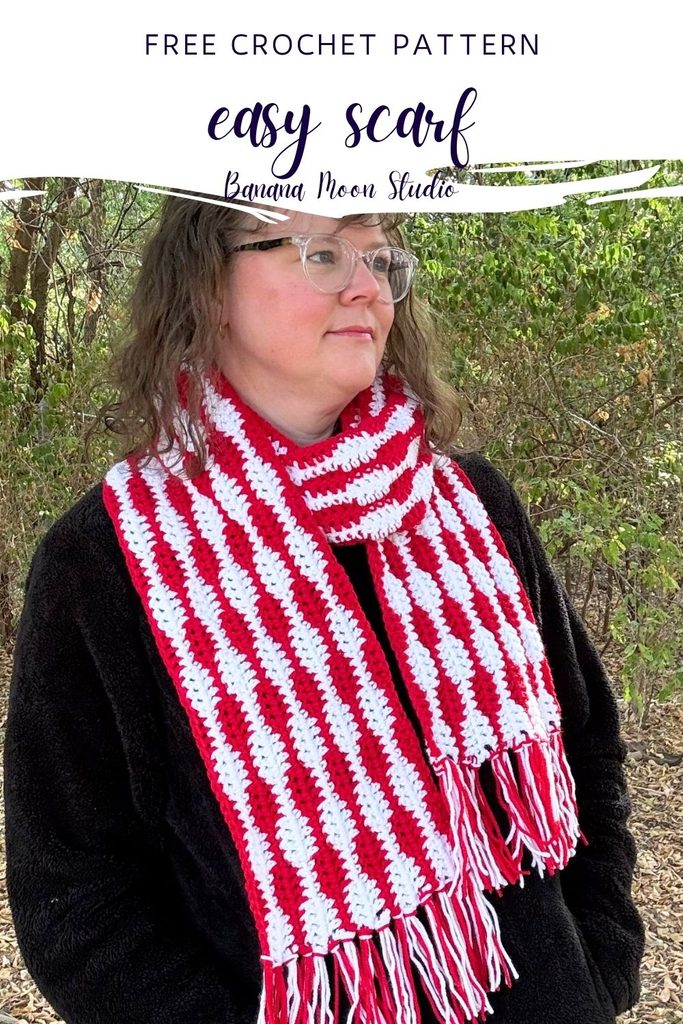
How do you make a scarf striped?
To crochet a striped scarf, you have to change colors at the end of your rows. In this particular scarf, it won’t change at the end of every row.
To make the change, you will crochet the last stitch of the row before the change. But when you get to the last stitch of that row, you pause with the last two loops on the hook.
Normally, at this point, you would yarn over with the same color and pull it through the loops. Instead, you will yarn over with the new color. You don’t need to make a slip knot in the new color, just fold about 6 inches of the new color over on itself and loop the fold around your hook.
Pull that loop through the last two loops instead of the old color. That will finished your stitch and leave you with the loop of new color ready to crochet the turning chain for your next row!
Who can wear this crochet scarf?
Anyone! Well, okay, maybe not a baby.
This scarf will be a great choice for both women and men. It will look excellent in team or school colors! The colors of my scarf are those of both my high school and college alma maters!
It will work great for teens as well. For smaller children, it will be a little longer than ideal. But you can experiment with shorter lengths and even fewer rows to make it shorter and more narrow.
Every 8 stitches you leave out will take off about 2 2/3 inches of length. Leave out stitches in groups of 8 to keep the pattern instructions working correctly. Each set of 8 stitches is one pattern repeat.
Where can I get this easy crochet scarf pattern?
This crochet pattern is free right here in this post! Just scroll down for the free version.
You will need to sign up for my free newsletter with an email address in order to access the full, free pattern. If you decide to use the free version, please bookmark this page and come back to it when you work on your project rather than trying to print or screenshot the page. Your time on this page helps me get paid for my work, so thank you!
Soon there will also be an ad-free PDF option that will be available in my Etsy and Ravelry shops, which you can visit using the buttons below. I will update here when the PDF is ready!
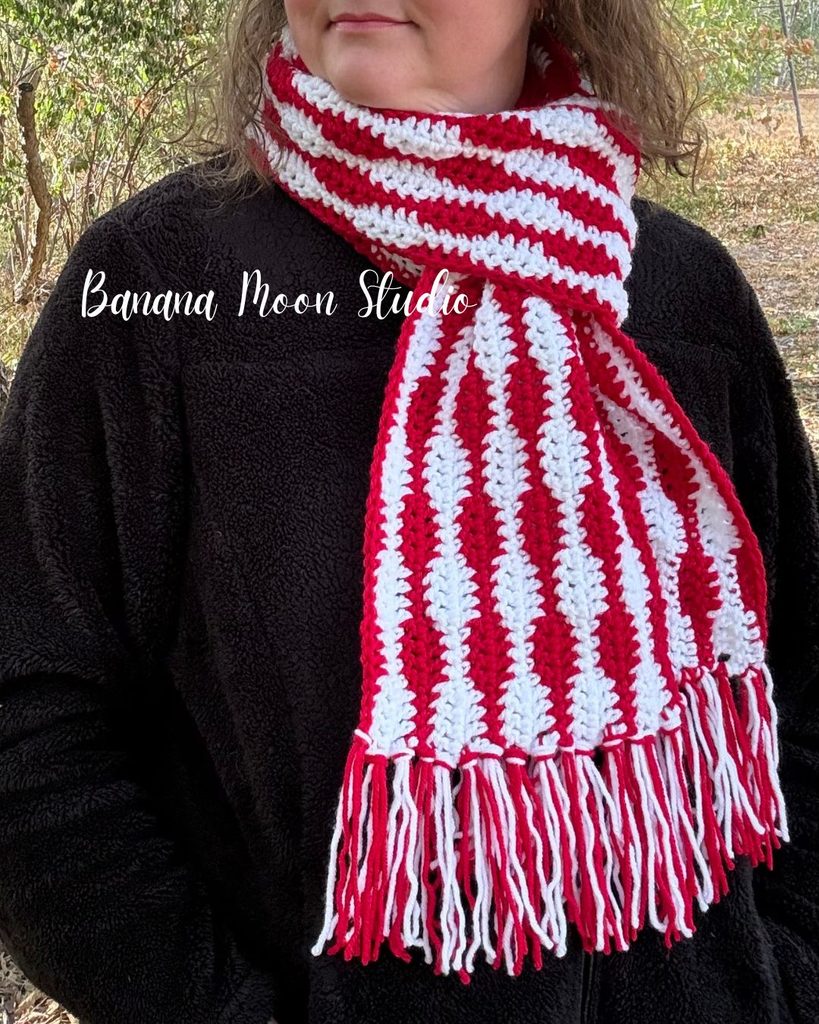
Norman Scarf, an easy crochet scarf pattern
By April Garwood of Banana Moon Studio
(C)2026 April Garwood. As with all my patterns, please do not make paper or digital copies for others. Instead, please direct them to my website to get their own. Thank you!
Difficulty Level: Easy
Finished Measurements: 71 inches long x 8 inches wide
Yarn: We Crochet Brava Worsted (100% Premium Acrylic; 218 yds; 100 g; yarn weight category 4/Worsted/Medium): Red and White
Shop We Crochet Brava Worsted!
Yardage: About 250 yds each of two colors
Crochet Hook: K (6.5 mm), or size needed to match gauge
I use and recommend Furl’s Streamline Metal crochet hooks!
Notions:
Piece of cardboard 5 1/4 inches square
Gauge: 12 sts x 10 rows = 4 inches in Smooth Wave Stitch
Notes
Scarf begins at one long edge and works across to the other long edge. Fringe is added to short edges at the end, working yarn ends into fringe.
To change colors, in the row before the change, work the final stitch to the last yarnover. Yarnover with the new color and pull through the last 2 loops of the stitch. Then begin the next row as usual.
This pattern uses standard US terms. For help with abbreviations, get my free, printable crochet abbreviations list here.
See this tutorial post for help with basic crochet stitches.
Video tutorials
Find a video tutorial for the Smooth Wave pattern stitch here!
Adding fringe tutorial coming soon!
Scarf
With Red, ch 213
Row 1: Sc in 2nd ch from hook and next 3 chs, *dc in next 4 chs, sc in next 4 chs, repeat from * across, turn – 212 sts. Cut Red leaving a 6 inch end, change to White.
Row 2: Ch 2 (does not count as a st), dc in first 4 sts, *sc in next 4 sts, dc in next 4 sts, repeat from * across, turn.
Row 3: Repeat Row 2. Cut White leaving a 6 inch end, change to Red.
Row 4: Ch 1, sc in first 4 sts, *dc in next 4 sts, sc in next 4 sts, repeat from * across, turn.
Row 5: Repeat Row 4. Cut Red leaving a 6 inch end, change to White.
Repeat Rows 2-5 for pattern.
Continue working in pattern for a total of 20 rows, ending with a Row 4 repeat. Fasten off.
Finishing
Without pulling tightly, wrap white yarn around center of cardboard square 40 times, starting and ending along the same edge of the square. Using sharp scissors, cut the yarn off the cardboard right along the edge where you started and ended wrapping. This should give you 40 fringe pieces. Repeat with Red yarn.
Along the short edge of scarf where most of your yarn ends are, you will use one piece of white and one piece of red yarn for each fringe knot. Hold fringe pieces together with ends even and fold in half. Insert crochet hook through the first row end of scarf from WS to RS, pull fold of fringe pieces through scarf about 1 inch. Pull ends of fringe pieces, and any nearby yarn ends from crocheting scarf, through the loop of the fold. With ends of all fringe pieces even, pull them snuggly to tighten knot.
Place one fringe knot in each of first 3 row ends, *skip next row end, place one fringe knot in each of next 3 row ends, repeat from * across, place one fringe knot in final row – 16 fringe knots.
For other short side you will repeat the process. Since there are not very many yarn ends on this side, use three fringe pieces for each fringe knot, alternating between 2 red + 1 white, and 2 white + 1 red piece.
Trim any uneven fringe pieces or yarn ends along both short ends so they are even with others. If you have any remaining yarn ends, weave these in.
Tip: You should not machine wash or dry fringe. I recommend handwashing and laying flat to dry to preserve the fringe.
Enjoy!
I hope you enjoyed this easy crochet scarf pattern!
I would love to see photos of your in-process or finished projects! You can share them on Instagram and tag me, or you can join my friendly Facebook group and share them there.
Happy crocheting!

Save this for later with Pinterest!